xwMOOC 고생대 프로젝트
이미지 파일 정보 살펴보기
1. 이미지 정보
인터넷에서 가져온 이미지 정보를 살펴본다. 팩키지를 불러오고 나서, 인터넷에서 이미지 파일을 불러온다. 그리고, 이미지 형태, 크기, 자료형에 대해 출력한다.
import cv2
import urllib
import numpy as np

# Import Image from the ImageNet
raspberry = urllib.urlopen('http://farm1.static.flickr.com/49/194935899_8b7ae04746.jpg')

raspberryArr = np.asarray(bytearray(raspberry.read()), dtype=np.uint8)
raspberryImg = cv2.imdecode(raspberryArr, -1)

# Get Basic Info

print '===== Raspberry Image Info =====\n'
print 'Shape: ', raspberryImg.shape
print 'Size:  ', raspberryImg.size
print 'Type:  ', raspberryImg.dtype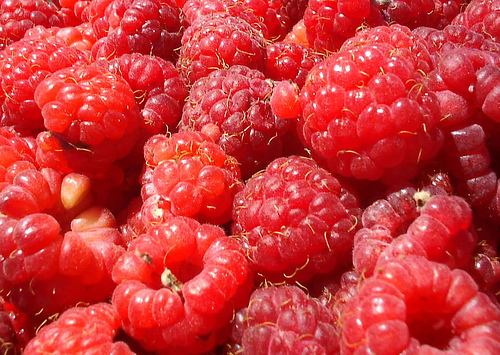
상기 이미지에 대한 정보는 모양(Shape)를 보면 행이 355, 열이 500, 색상은 RGB 3으로 표현된다. 만약 흑백인 경우는 행과 열정보만 표현된다. 크기(size)는 \(355 \times 500 \times 3 = 532,500\)으로 계산된다. 자료형은 uint8으로 디버깅에서 중요하게 사용되는 정보다.
===== Raspberry Image Info =====

Shape:  (355, 500, 3)
Size:   532500
Type:   uint8
2. 로컬 이미지 파일 예제
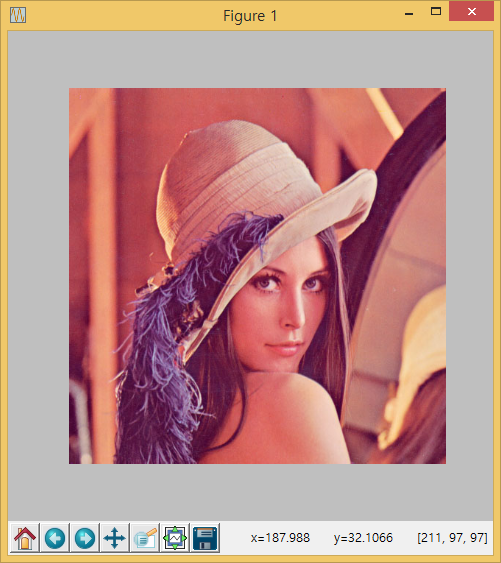
로컬이미지 파일을 가져오는 것은 훨씬 간단한데, imread() 메쏘드를 사용하고, 인자로 불러 작업할 이미지 파일을 넣어준다. 기본적인 이미지 정보는 위와 동일하다.
OpenCV 색상체계가 BGR로 RGB를 기본으로 처리하는 matplotlib 팩키지에는 색상이 뒤빠뀌어 그래프로 표현된다. 이를 방지하기 위해서 cvtColor() 메쏘드를 사용해서 변환을 한 후에 matplotlib에 넣어준다.
import cv2
import matplotlib.pyplot as plt

# Import Image from the Local Disk
lenaJpg = cv2.imread('../fig/lena512.jpg')

# Get Basic Info
print '===== Lena Image Info =====\n'
print 'Shape: ', lenaJpg.shape
print 'Size:  ', lenaJpg.size
print 'Type:  ', lenaJpg.dtype

# Show
plt.axis("off")
#plt.imshow(lenaJpg) # BGR
plt.imshow(cv2.cvtColor(lenaJpg, cv2.COLOR_BGR2RGB)) # RGB
plt.show()
===== Lena Image Info =====
Shape: (512, 512, 3)
Size: 786432
Type: uint8